Welcome back! It's a beautiful Monday and the weather is fantastic, until it decides to sleet/hail/snow again like yesterday... Today we treat you with a preview of prizes for this Saturday's Raffle Drawing:
So, if you're at all immersed in the artistic side of the Magic: the Gathering world, there are probably two forms of card alterations that you are most familiar with. The foremost being often referred to as simply "altered cards", where an individual takes paint or pen or some similar medium to the face of a Magic card and adds or changes the artwork. The second popular form takes a different set of skills, and is perhaps more appealing to those who have more of a technical interest than an artistic one. They are often called "3-D cards". They involve taking several copies of a single card and, through cutting mostly, are layered in a way that makes the artwork pop in a three-dimensional sense.
And, here at Curio, we have decided to make a few! We photographed some of the steps, and have a fun little tutorial to share with you.
3-D Card Alter Tutorial by Curio Cavern
Step 1: Find a nice blade! We recommend most variants of the common X-Acto Blade:
Additionally, you will need some glue to adhere the cards. Most forms of glue are fine, even rubber cement.
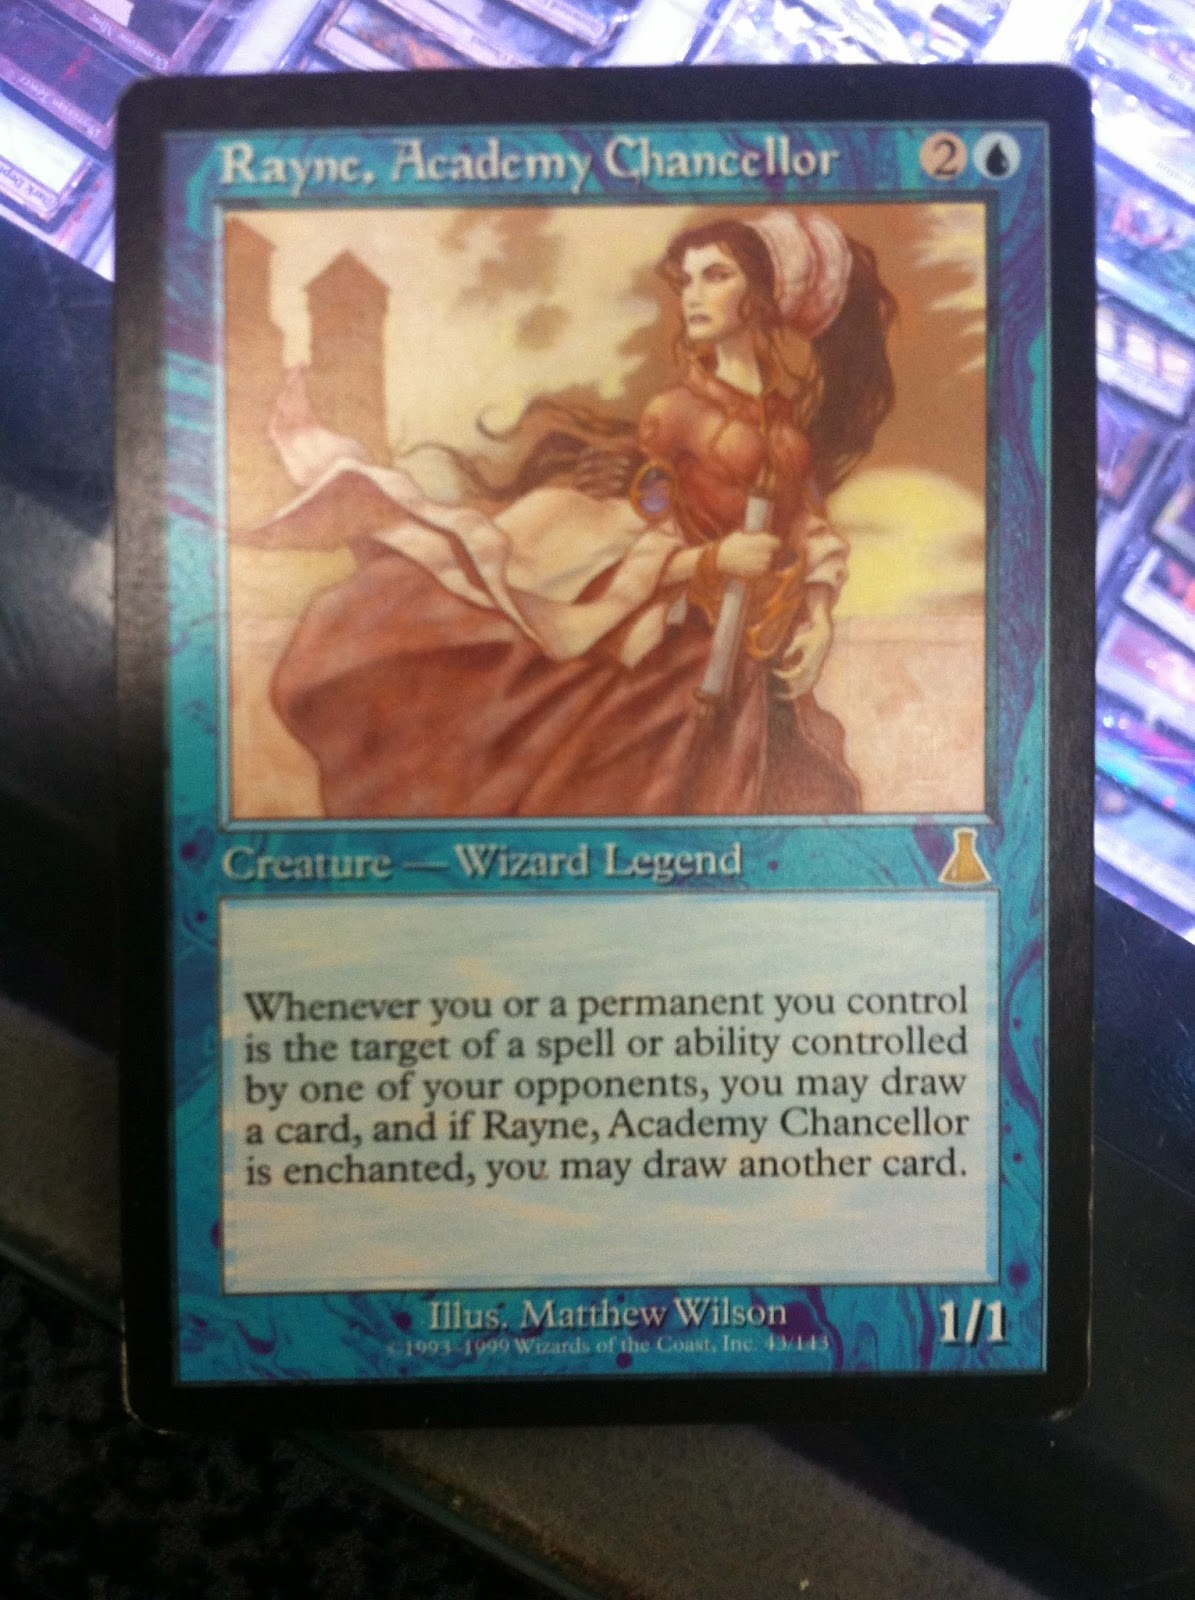
Step 2: Choose your card! Remember, you will be cutting up several copies of this card. We used five copies of the card we chose, which is...
Step 3: Plan it out. Decide what your layers are going to be. There's very little room for re-dos when you're cutting cards up! Remember that the first layer is going to be just the card itself, and you are cutting away more each time (usually). You're starting from the furthest point in the background, and taking a step closer to the foreground with each new layer. As you can see in Rayne above, the background consists of three primary components:
From furthest to closest:
-The sky
-The shadowed buildings
-The wall/ledge right behind Rayne
We chose to combine the sky and the shadowed buildings in our example, but these could have easily been broken up into two separate layers (cards).
You will probably have some layers that are just the border of the card and some floating bits within.
We chose to leave the text box untouched in each layer, but it is easy to cut out all of the text boxes except the first layer's to add depth there as well. Several card alterers have even used the extra space created this way in the text box to turn the card into a mini abacus by installing one or a few metal wires/poles with beads on them into the text box area.
Step 5: Pen/paint the edges! This is an optional step, but I highly recommend it. All the edges you cut will be left white, showing the thickness of the cardboard. At a beginner level, just Sharpie all the edging that is left white. If you would like to put more work into it, try color-matching the edges.
Step 6: Glue your layers together! Here's our step-by-step process, showing you each separate layer (and our semi-color matched edging):
We start out with the base...
Layer 2 begins at the wall/ledge right behind Rayne. We've left the blowing hair behind her
in the back layer here; hair is particularly hard to cut.
In Layer 3, we step right beyond the ledge. We have also cut out some of the thickness
of Rayne's hair, giving it the illusion of cascading into the background.
Layer 4, we've stepped up to the clothing beyond her skirt, and cut the neck out
of this layer, giving more definition to her body.
Layer 5! Here we've added just two finishing touches: the tip of her dress fabric
on the left (hard to see), and the scroll, plus the hand & forearm that hold it.
...and then a bonus sixth layer:
Rayne, you will make a lovely Commander!
-CC
.JPG)


.JPG)


.JPG)
.JPG)
.JPG)


